
Sourdough Baking
 Up until the middle ages, sourdough starter was an essential part of breadmaking. If you wanted your dough to rise, this culture of flour, water and wild yeasts is what did the lifting. As a living ingredient, starter needs to be looked after and fed occasionally. That may sound like a faff, but our ancestors survived. And the bread it produces has more flavour, lasts longer and is easier to digest.
My sourdough starter, Twinkle, is the daughter of Priscilla, Queen of the Refrigerator who hails from Sydney. Celia, who sent it to me has many recipes and tutorials on her wonderful blog Fig Jam and Lime Cordial. It may sound a little silly but naming your starter makes it more likely to succeed. Perhaps one cares for it a little more if it has an identity.
If you have sourdough starter that has come from Twinkle or any of Priscilla’s offspring, then bookmark this page for easy reference and please do share your starter with others – it’s a process that brings so much joy to everyone involved. The method to dehydrate it is below but you can also hand over a cupful of freshly fed starter in a lidded container too.
Use non-organic bread (baker’s) flour to feed the starter as it is more finely milled than organic and has a higher protein content than plain/AP flour, which the wild yeast organisms feed on. You can use whichever bread flour you wish to when making your loaf.
Use filtered or spring water as chlorinated water destroys the yeast.
Clear shower caps are wonderful for covering the bowls of starter and dough! I bulk buy on Amazon.
Resources:
Books – There are some fabulous books on bread making. Dan Lepard’s, The Handmade Loaf, which I have had for a few years, clearly awaiting Twinkle’s arrival, is fantastic. Richard Bertinet’s, Dough comes very highly recommended; people rave about his recipes on Twitter.
Videos – Richard Bertinet has videos on YouTube that are be worth watching to learn how to shape and slash the dough.
Websites – There are also many brilliant websites – Celia’s Fig Jam and Lime Cordial is one of them – she makes sourdough pancakes and bagels too, just to name a couple of the many sourdough recipes on her site. The Fresh Loaf is a bit mind boggling to begin with but once you get the hang of making the basic loaf, it is a good site to dip in and out of. The same goes for Breadtopia. Emilie of the Clever Carrot has a brilliant beginners guide here.
Flour – In the UK, larger branches of Waitrose have an excellent selection of specialist flours and you can also order directly from millers such as Stoate and Sons, Shipton Mill and Dove. Amazon have a good selection too.
Lidded Pots – A lidded pot isn’t essential – you could just as easily bake the loaf on a baking sheet or pizza stone but a pot does give the loaf a great shape and the lid creates a steamy environment which helps the bread to rise, which is known as oven spring. I use a Falcon brand 30 cm Lidded Oval Roaster. It not to heavy to heft around. They do stain from the heat but I don’t mind as they do such a great job. A cast iron pot does the same job too.
To revive your dried sourdough starter
- Early in the morning, let’s say 8am – tip the starter flakes into a medium sized bowl. Whisk in 1/4 cup each of non-organic bread (baker’s) flour and 1/4 cup of filtered or spring water. Cover with cling film and leave it out on the counter.
- Repeat Step 1 at lunch time or mid afternoon and cover the bowl.
- Before going to bed, whisk in 1/2 cup each of the flour and water, cover and leave out on the counter, overnight.
 Hopefully, in the morning, you will have a bowl of bubbly starter to start baking with but if not, continue feeding it – this may take a couple of days. Twinkle perked up immediately and had a few bubbles after the first feed as did her baby Twinkletoes! It would seem that Priscilla and her offspring are incredibly resilient.
Once your starter is alive and active, pour about a cupful into a lidded container, give it a small feed of 1/4 cup flour and water and pop it into the fridge – it will need a small feed once a week. Celia has let Priscilla go as long as 10 days between feeds. I haven’t got to that stage yet!
If you keep more than a cupful back, the starter becomes sluggish so it’s best not to hoard all of it. (Um – guilty!)
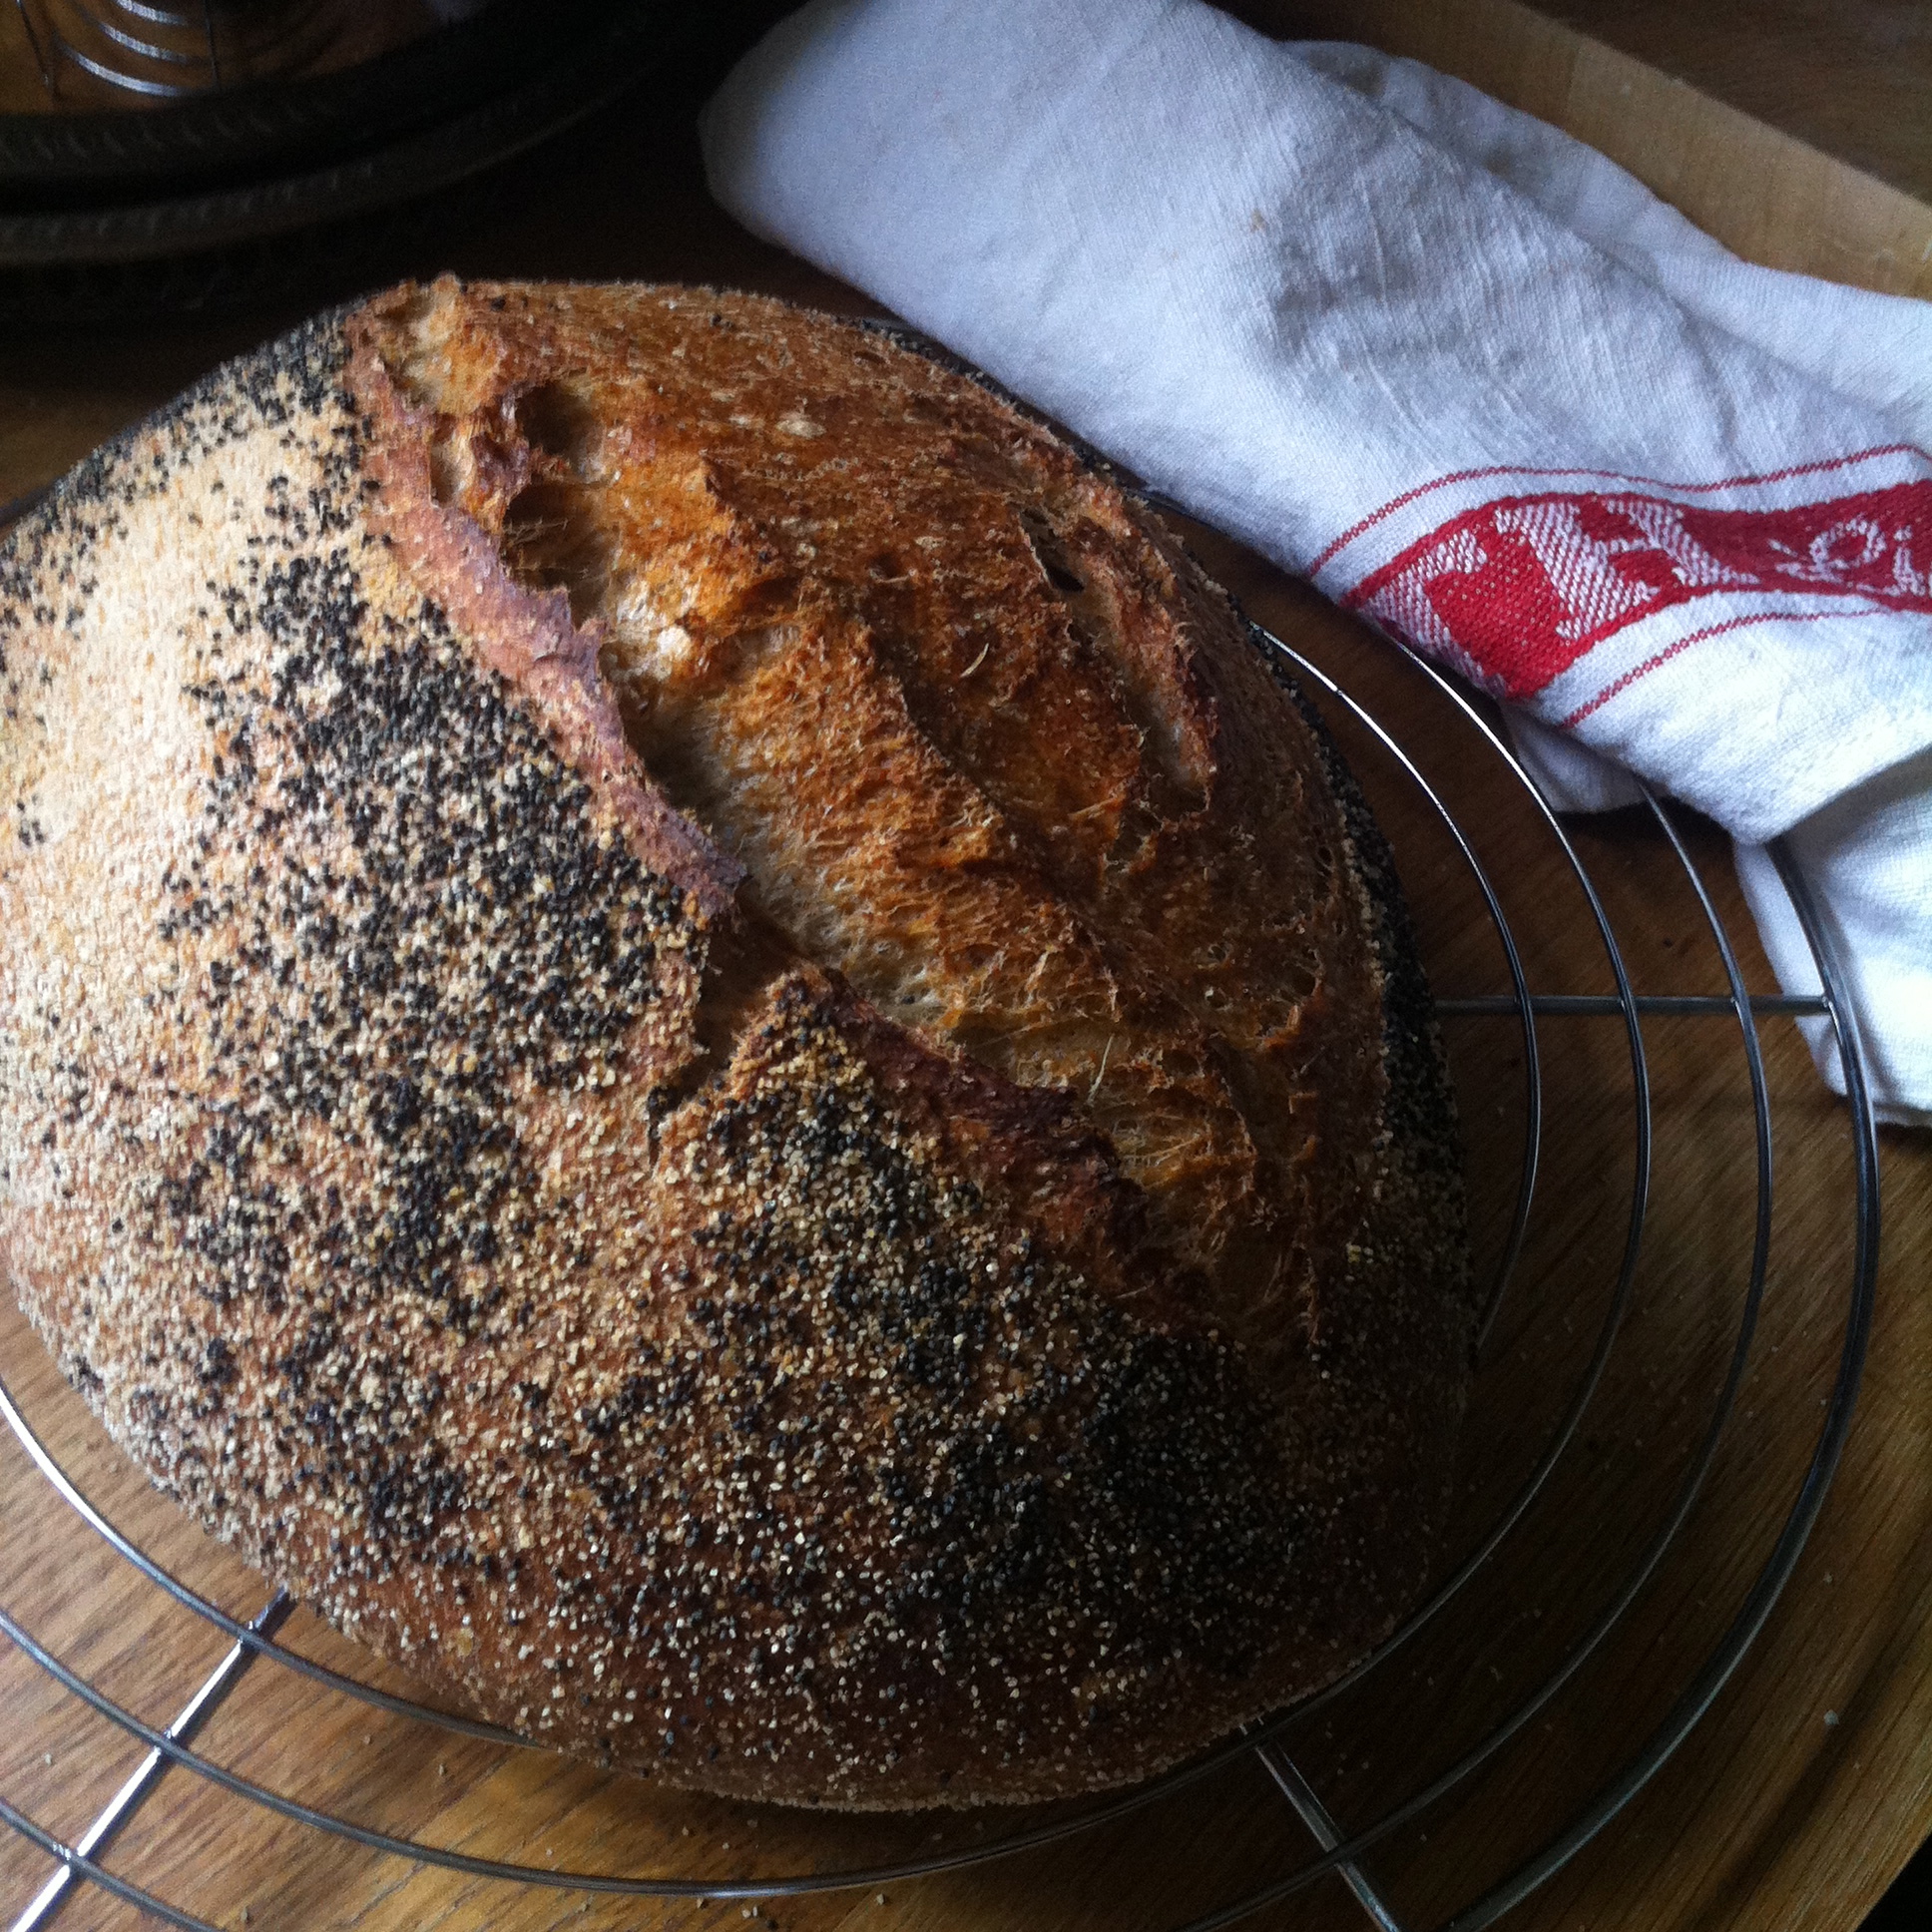
Overnight Sourdough Loaf
 (Start midday, to bake the bread the following morning)
Always start with a bubbly bowl of starter. Following Celia’s advice, I remove a ¼ cup of starter from the container at 1pm, feed her ¼ cup each of bread flour and filtered water, followed by ½ cup of each at about 4pm. By 8pm, Twinkle is bubbly and ready to go!
Use a large mixing bowl and set it on the scales, re-setting to zero between additions.
- Measure out 150 g of bubbly starter.
- Add between 285g – 300g room temperature or cool water. Start with the lesser amount first – you can always add a little more if the dough is too dry.
- Measure in 500 g of bread flour (this is where I use organic bread flour).
- Add 9 g of fine sea salt.
- Squelch the lot with your hand until it is well mixed – not even a 1 minute. Scrape all the bits off your hand and back into the bowl. Cover the bowl with cling film and set the timer for half an hour.
- Watch some YouTube videos on how to shape bread dough and how to slash it too.
- Then, knead the dough in the bowl for about a minute, stretching it out and bringing it back over on it self a few times. Cover with cling film and leave it out on the counter, overnight.
- In the morning, it will have doubled in volume at least.
- Pre-heat the oven to 240/250C. Line the pot with baking paper and dust with a little flour too.
- Dust the counter – I use a large stainless steel tray – with fine semolina or rye flour (white tends to stick) and scrape the dough out, onto it. There is no need to punch down – you want to keep as many of those bubbles in the dough as you can.
- Pat it down gently and stretch it out into a rectangle. then pull the outside thirds into the middle and shape it as you wish, seam side down. Try and pull the outside of the dough as tightly as possible to get a good gluten coat which will hold it’s shape well. Oil some cling film and cover the dough for half and hour for the final prove. Set the timer as this is the only proofing that should NOT be over done.
- Then, after it has finished the final proofing, remove the cling film, and lower into the pot. Dust the top with more flour and slash the top of the dough.
- Cover with the lid and place in the oven. Turn the heat down to 220C (fan assisted) and bake for 25 minutes.
- After 20 mins, remove the lid and carry on baking for another 25 mins.
- If you like a crunch crust, you can put it directly on the oven rack for another 5 minutes.
- Otherwise, remove from the pot and cool on a rack.
I strongly recommend that you look at Celia’s photo tutorial before starting http://figjamandlimecordial.com/2014/12/12/an-overnight-sourdough-in-pictures/ Just remember that she makes double the recipe for 2 loaves – the recipe above is for one loaf.
This overnight loaf is a basic recipe and a really good one to start with. As you get more confident (and after some reading up) you can do things like letting it cold prove in the fridge for a few hours/days for a deeper flavour, use more water for a softer crumb and get all fancy pants with different flours and additions. There is a walnut and raisin loaf that is calling my name.
I have tried a 50% spelt/50% white and a 50% wholemeal/50% white – both were delicious.
Drying Sourdough Starter
You will find that you have excess starter from the feeding. Cover a couple of sheets of parchment or silicone paper with a thin layer of stirred down, bubbly starter and leave it out to dry – mine took a day as the heating was on. Then break it up and whizz in the processor, into little flakes. Portion tablespoonfuls into baggies and freeze. Good to have as a backup or to send out in the post.
Sourdough pancakes are a great way to use up the excess starter too. I have a few recipes which you can find in the recipe index tab under Sourdough.
http://figjamandlimecordial.com/2009/09/13/sourdough-pancakes/

Pingback: Dinner Tonight: Extraordinary Roasted Chicken + Quick Peanut Butter Squares | VOX RECIPES
Pingback: Dinner Tonight: Extraordinary Roasted Chicken + Quick Peanut Butter Squares - Recipes Heaven
Pingback: Can you hear me…, Selma? | The Novice Gardener
Pingback: Flourless Balsamic Raspberry Chocolate Torte (a tribute to Selma) | The Flavor Bender
Pingback: a freeform onion and goat cheese loaf from selma’s table | ten.times.tea
Pingback: Lots of food & a few decorations | foodbod
Pingback: Za’atar & goats cheese mixed flour sourdough bread… | foodbod
Pingback: The sourdough files… | foodbod
Hello, thank you for your excellent directions. I used GF flour for a 6 day starter and it did amazingly well, but then tried to use that with all GF (King Arthur) Flour and it was a lump in the morning, with no rise. Can this GF be done or should I do the long frig rise over 3-5 days with White Flour to minimize the Gluten effect?
Thank you!
Mio
LikeLiked by 1 person
Dear Mio … I am so sad to inform you that, unfortunately, Selma the writer of this blog died a few years ago. I was a regular reader. I know she had a son. That’s all I know. She sounded like she was such a nice lady!
LikeLike
Pingback: Overnight Sourdough Bread Recipe – Perfect for Beginners – My Roi List