
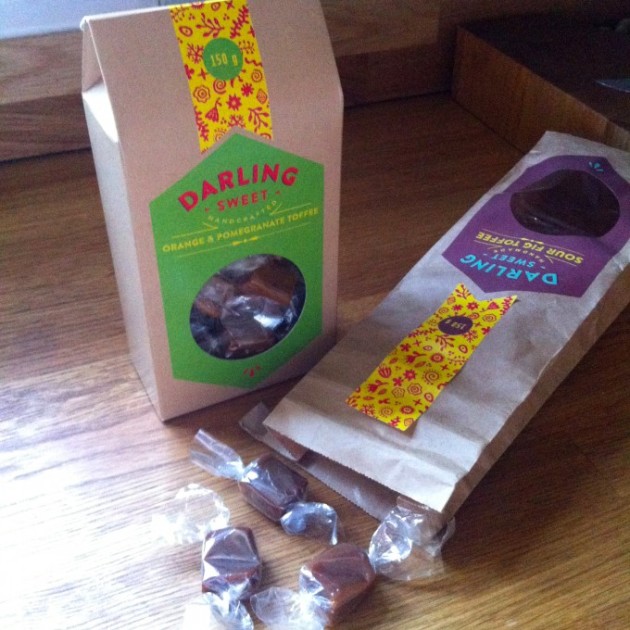
 These days, it’s not often that I get a chance to go out with my son. Jake has gathered his London ‘tribe’, the size of which ebbs and flows like the fickle tide of fame but I am pleased that his close friends have remained constant throughout. My point is, that in his spare time, he is always busy, friends to meet up with, an event to go to or a party to attend – with a tribe that large there is always something going on. It’s nigh on impossible to do anything on the spur of the moment that includes him. Unless he is grounded, which was the case last week. So I snatched at the opportunity to take him shopping with me (he needed some things too, so don’t go feeling sorry for him at being grounded and dragged round the shops!) at the weekend. We stopped for some much needed fuel at “Pho“, one of a chain of Vietnamese restaurants that seem to have sprung up everywhere. Jake had the Pho Combo which was really tasty – full of aniseed and beefy flavours, but a huge portion as most of these noodle soup bowls are – does anybody actually finish one? I had the green papaya salad with peanuts and chicken which was absolutely gorgeous – fresh, crunchy and light. Looking around, I couldn’t help but notice how many bottles of Sriracha Sauce they had lining the shelves, as well as on every table. No wonder there is a dearth of them in the shops for us mere consumers! It was really lovely to spend a few hours with Jake, outside of the house (aka the battlefield) and just hang out like old times.
 I adore Vietnamese food – really fresh flavours with mint and coriander, bone broths (Pho), noodles and lots of salads – quite easy to eat well and healthily. I’ve heard so much about bánh mì sandwiches – French bread sandwiches stuffed with all manner of glorious fillings and also known in New Orleans as a Vietnamese Po’ boy. I had fried seafood sandwiches on my mind when I received some packets of Whitby Seafood to review.
 Whitby is an independent family business, founded in 1985 by Graham Whittle who has now been joined at the helm by his daughter and sons – isn’t that just such a wonderful thing in these days of giant omnipresent, multinational, community destroying, food businesses? They have rebranded themselves – rather wonderfully in my opinion – with packaging that is modern, relevant and eye-catching and a website that is so easy to navigate and read. Whitby Whole Scampi (langoustine), fished in British waters, is one of their best sellers and has been awarded a Great Taste 2014 Star too. Funnily enough, I was chatting to a friend earlier today and she had just bought a couple of packets in Morrisons – they are on sale – 2 for £4 and I would recommend snapping up a few packs – you won’t regret it!
 So, I made a toastie version of a Po’ boy, with Whitby’s Whole Scampi, spicy homemade mayonnaise and that wonderful Barber’s 1833 Farmhouse Vintage Reserve Cheddar, which comes from another independent food producer, who are in fact the the oldest cheese makers in England. I have written about Barber’s previously here. I didn’t realise that Jake was going to be home this morning and for lunch (he is on study leave/writing exams) so I was really pleased that he was here to try my Spicy Po’ boy Toastie. After claiming that he wasn’t hungry, he scoffed the lot, saying between mouthfuls “this is really good” and “can you make this again”.
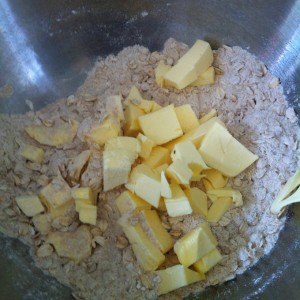
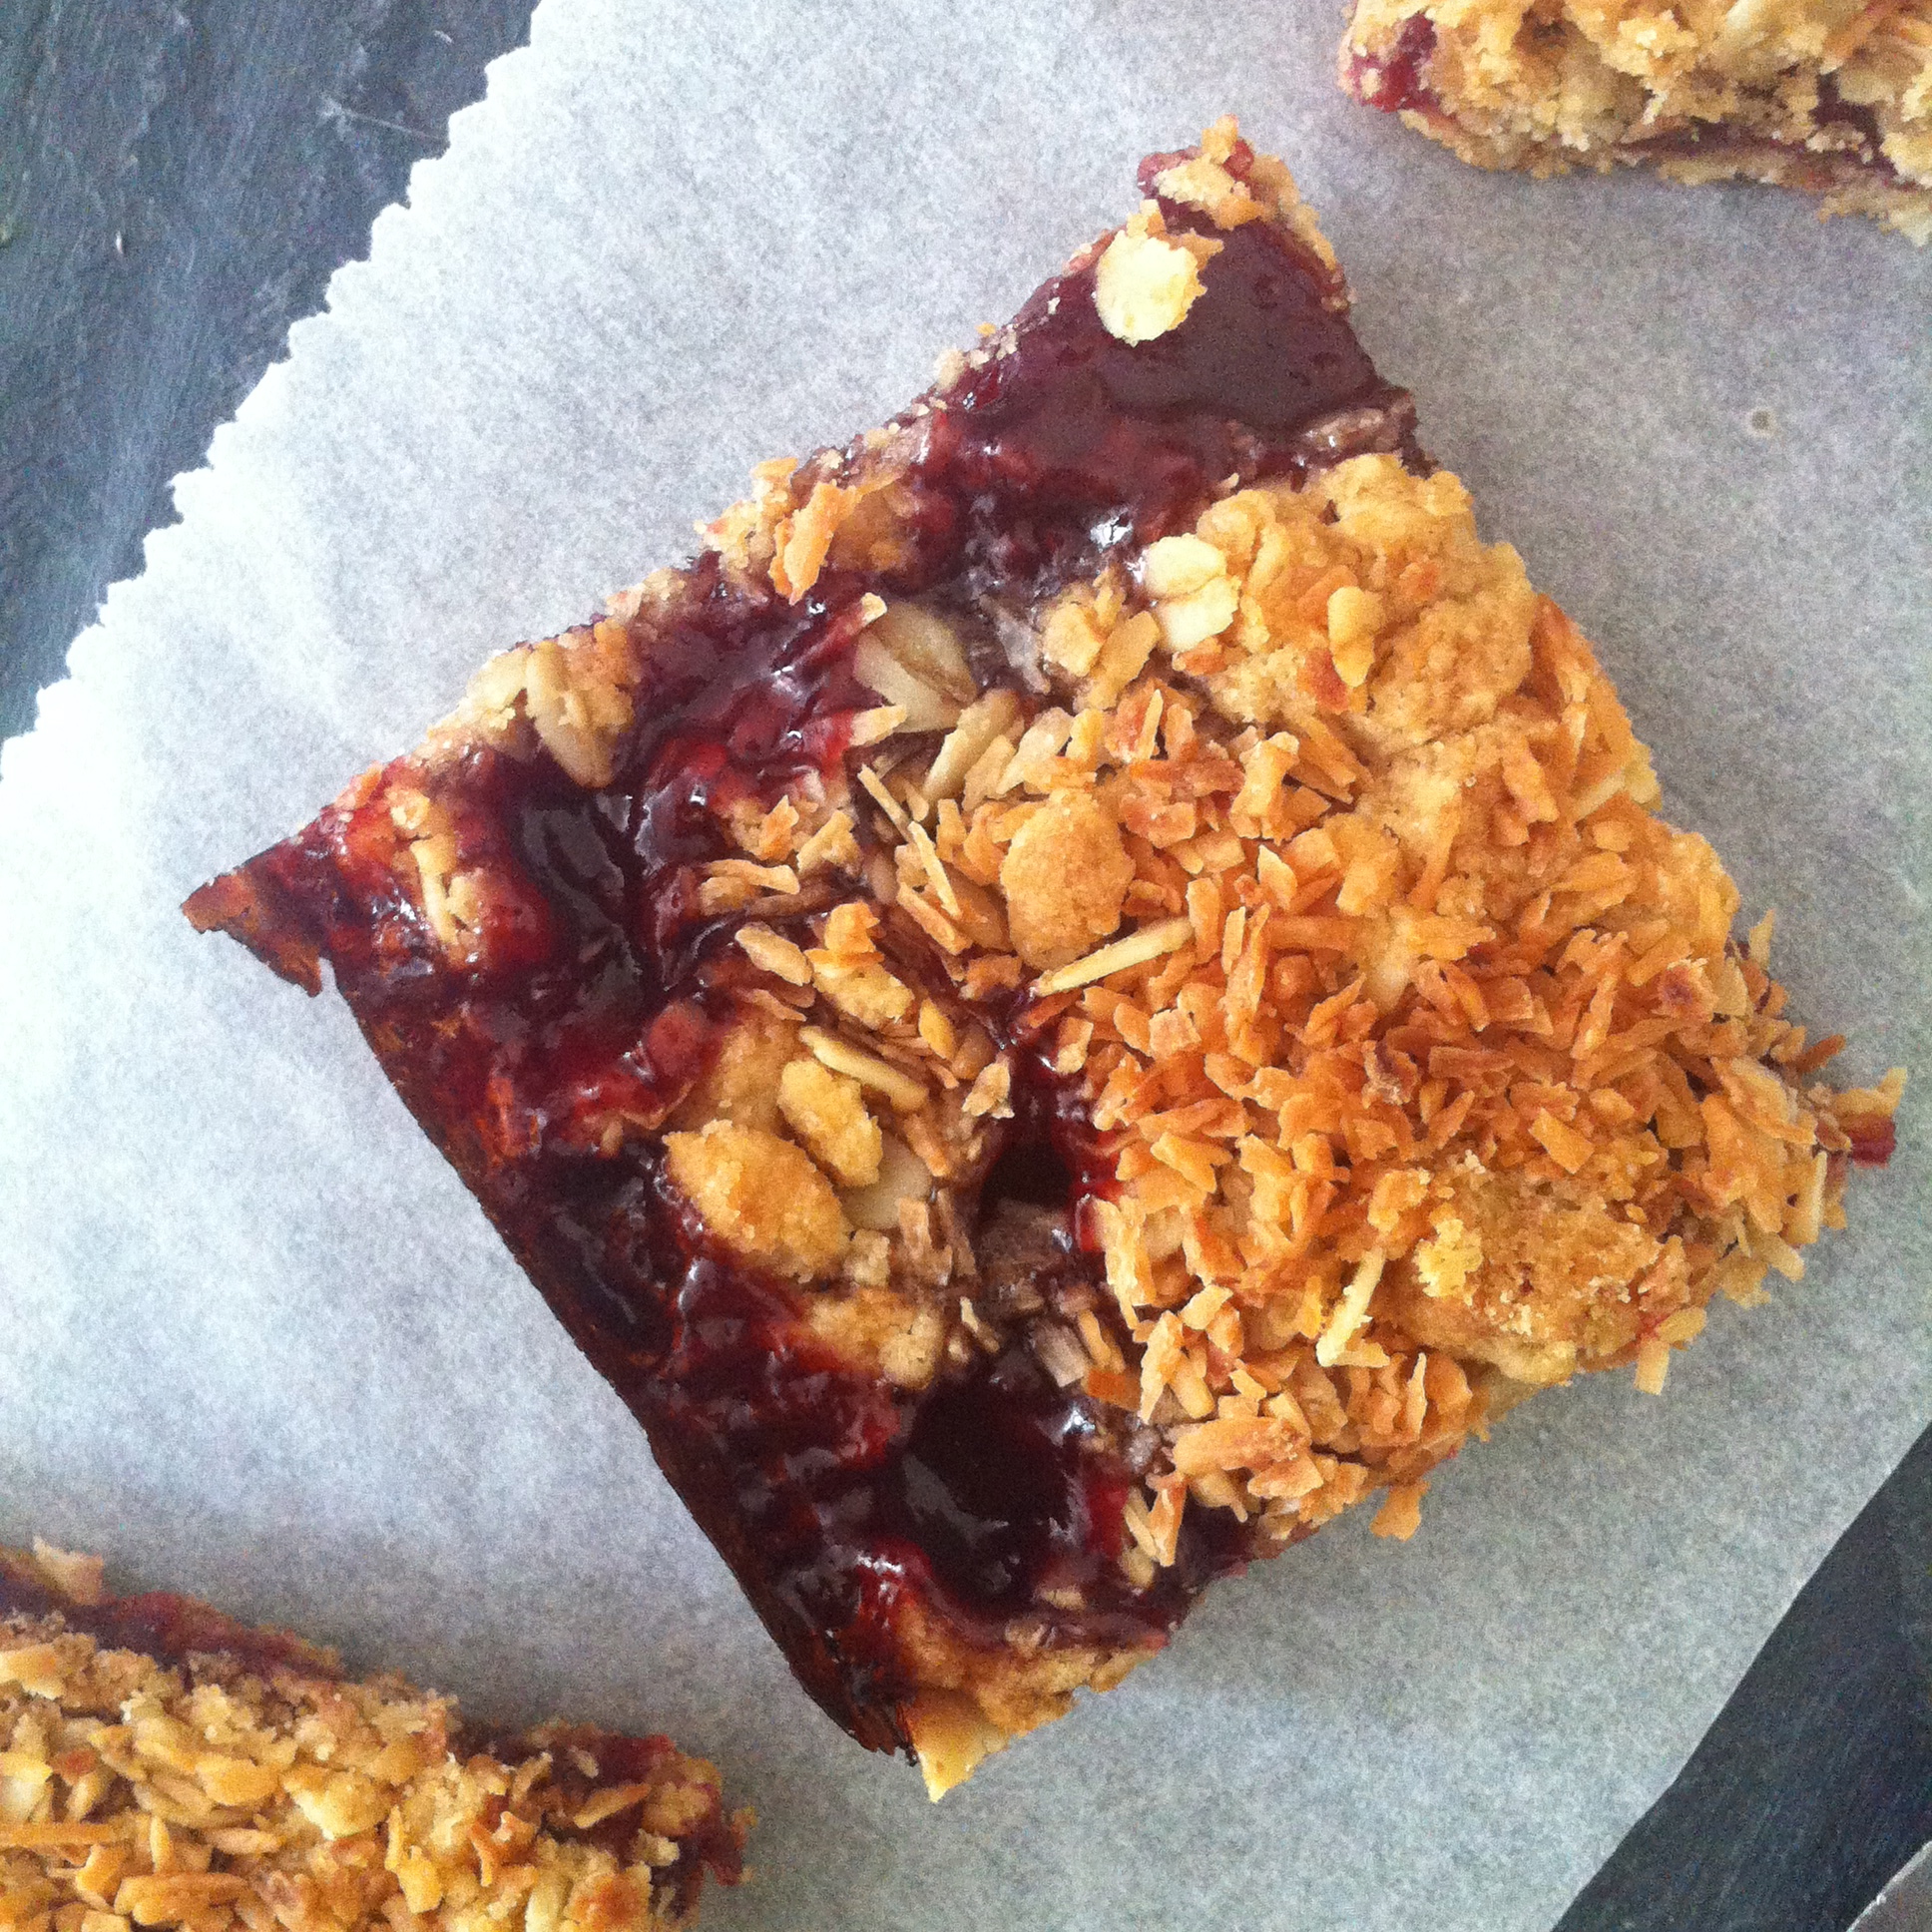
 Crispy on the outside, soft on the inside bread, crunchy coated, tender scampi, spicy, smoky, creamy mayonnaise and gooey melted cheese – with a few cornichons or pickles to add sharpness – simply divine. I’m not going to lie – this is utter comfort food and with the wild weather we have been having, seemed like the perfect thing to eat.
-

- Barber’s 1833 Cheddar
-

- Scampi on the spicy mayo
-

- Cover with cheese
-

- Top with buttered bread
They are really easy to make. While the scampi are cooking in the oven, mix up the spicy mayo, grate the cheese and generously butter the bread. Then, once the scampi are cooked. put a frying pan on a low heat, place one slice of bread in it, buttered side down, spread with the spicy mayo, then top with the scampi and cheese. Place the second slice of bread on top with the buttered side up, cover and gently sizzle for a minute or two – just keep checking the underside. When it’s a nice golden colour, flip it over, press down gently and let it cook for another minute or so. I find covering the pan heats everything through and makes the cheese melt more evenly. Use soft butter on the bread – it will tear otherwise and the mayo and cheese will leak out into the pan.
Disclaimer – I was sent the products to review but the opinions expressed are my own.
Spicy Po' boy Toastie
INGREDIENTS
- 1 x 225g package of Whitby Whole Scampi
- 4 tsp mayonnaise
- 1 tsp smoky paprika
- pinch of chilli flakes
- a few drops of hot sauce
- soft butter
- 80g Barber’s 1833 Farmhouse Vintage Reserve Cheddar
- 4 slices of bread
INSTRUCTIONS
- Pre-heat the oven to 220C/425F and cook the Whitby Whole Scampi for 15 minutes or a couple of minutes less than directions on the package.
- In the mean time, mix the mayonnaise with the smokey paprika, the chilli flakes and a few drops of hot sauce (I used 4 drops) and set aside.
- Generously butter two slices of bread – this will be the outside of the toastie.
- Coarsely grate the Barbers Vintage Reserve Cheddar Cheese.
- When the scampi is ready, place a non-stick frying pan on a low heat and place one (or two, depending on the size of your pan) slice of bread, buttered side down in it. Spread the unbuttered side which should be facing you, with half the spicy mayonnaise mixture, then top with about 7 or 8 pieces of scampi and half the grated cheese. Top with the other slice of bread, buttered side up and cover the pan with a lid. Check the underside after 1 ½ minutes – it should be golden brown. If not leave for a few more seconds.
- Using a spatula, lift the toastie out of the pan and flip it over and put it back in the pan. Press down gently and cook for another minute or until the underside is golden and the cheese has melted.
- Serve with a side of cornichons or pickles and lots of napkins!


 In my kitchen, Spring has truly sprung!


 In my kitchen I have a bowl full of gorgeous unwaxed organic lemons from

 Her sister, who lives in London, also brought me back some wonderful Kiwi Manuka honey – it’s so good spread on my
  In my kitchen I have mini spatulas and a pretty new jug. I realised the other day, as I was trying to scrape the last of the peanut butter out of the jar that I really, really needed a mini rubber spatula. I popped into TK Maxx and there was a happy little bunch of them waiting for me to take them home! The jug comes from a fabulous new shop on Queenstown Road called
  In my kitchen I have a new peeler with a ceramic blade. I find these so smooth and efficient – I had my last one for about 8 years so was a little bereft when it snapped. Being ceramic, they are not as robust as metal but with a little care and thought, they last a very long time. I was so pleased to find another one even though it’s a bit wider than I am used to – it does, however, still do a marvellous job.
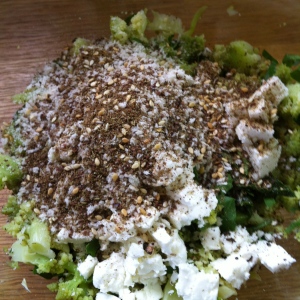
 In my kitchen I have a tub of Dodoni feta cheese. While I was in Cape Town, I observed how feta is sold in large pots rather than the little vacuum packed slabs we are more used to. When I popped into the Mediterranean grocery store around the corner from me, I saw that they sell slices of feta in tubs. It keeps really well in the brine rather than going off in the packet when you have used a bit for a recipe. I used the feta on my
  In my kitchen I went sourdough crazy and baked up a fruit loaf, a red pesto, feta cheese and olive pull apart rolls and a green pesto and tomato pull apart rolls. It’s the basic overnight dough divided into 2 equal portions, stretched out, filled, rolled up and sliced and baked. Being sourdough, they are chewy rather than soft and fluffy and so full of flavour! Just wonderful with bowl of steaming hot soup.
 In my kitchen I had sourdough hot cross buns – inspired and instructed by tweets from
 Browsing through Woolworths’ South African website, I came across this intriguing recipe for Milk Tart, which is apparently, the ultimate braai recipe. It’s very unusual in that it is a really liquid batter but it does work and is absolutely delicious.
 As a bonus, the house smelt amazing too – cardamom and cinnamon baking together is just such a wonderful smell! I think that this would be a lovely alternative to a chocolate dessert for easter lunch – it can be made a couple of days ahead and refrigerated so is absolutely perfect for entertaining.
 I must admit that my heart stopped when I realised how much liquid I was dealing with and I gingerly put it in the oven not expecting it to work at all but it did. “Folding” the egg whites into so much liquid was not easy.
 I think it would work better if the egg whites were folded in to only half the liquid and the rest stirred through. I used the last of the blood oranges to make this but you could of course, use conventional oranges.
 Not wanting any waste, I made a lovely syrupy orange sauce to go with it using sweet dessert/pudding wine, sugar and orange segments. If you don’t want to use a sweet wine, then just add a little orange juice instead.
 I am thrilled to be co-hosting Fiesta Friday #61 with the incredibly talented
 No matter what I do, when I cook meat in the slow cooker (aka the crock pot), it becomes wooly and all the delicious seasonings I have added become dull, dull, dull. On the other hand, I love the texture and flavour of meat slow cooked in the oven or braised on the stovetop. Perhaps the sealed environment of the slow cooker which is essentially slow boiling the meat over a very long period of time, relegates the proteins and the seasonings to a pappy, bland insipidness. Perhaps oxygen and evaporation play a crucial role in the flavour and texture stakes. I don’t know but what I do know is that there are millions of people out there who do make it work and work well – there are some fabulous sounding recipes out there and many a crock pot devotee as a quick search on Pinterest will confirm. Nonetheless, I cannot make it work for me. I have tried “roasting” a chicken in it, braising brisket and stewing meat. I’ve used it to make stock and flavoured legumes. I’ve adjusted cooking times, reduced liquid, increased flavourings and spices – all to no avail. Everything just tastes dull; no matter how much I try and adjust the seasoning after the cooking, I just cannot rescue the texture or the flat taste.
 That being said, what I do like is how well it cooks dried legumes like chickpeas and butter beans without the need to pre-soak or watch that the pot does not boil dry. I chuck together the beans, bay leaves and water just before going to bed and in the morning, the beans are soft, juicy and plump, ready to be sauced for supper that evening.
 But, I hear you say, why bother when you can get tins of the stuff in practically any corner shop and grocery store? Well, the texture and the flavour is much, much nicer when cooked from dry. I find the liquor in the tins tastes tinny and have to rinse the beans very well indeed before using them. Having said that, I always have a couple of tins in pantry as they do come in very useful for those last minute meals but if I have the time, I much prefer to cook them from dry.
 I would suggest that the first time you make these, you do them during the day, when you are likely to be around to check on the water in the crock. I have found that the measurements below are perfect for my crock – the beans cook and soak up just enough water, leaving perhaps a cup of thick liquid that has not been absorbed and is just perfect to thicken the sauce with.
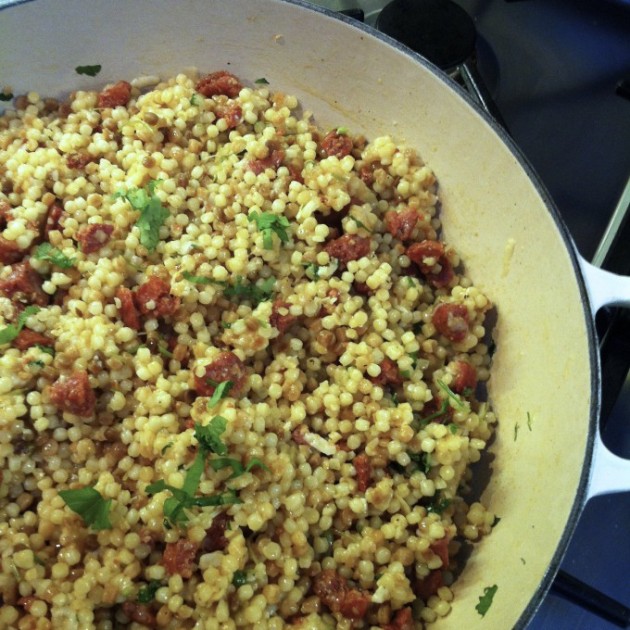
 The chorizo sauce is just delicious!! Lemony, tangy, spicy and rich – do, please take the time to caramelise the onions slowly – you can get on with something else in the kitchen for the 10 minutes or so that it will take for them to slowly turn a golden brown. They lend such a depth of flavour to the sauce. And of course you can use the contents of 2 very well rinsed cans of butter beans instead and just use water where the recipe calls for bean cooking liquid. If you don’t have a slow cooker and want to use dried beans, then cook the dried beans, according to the manufacturers instructions on the pack which usually involve soaking them for 8 hours and then simmering them for one or two hours afterwards.
 While I was in Cape Town, I stayed with friends in their
  In their fabulous kitchen, antique blue and white Spode plates jostle for position on the open shelving with contemporary blue and white bowls and mugs; bone and silver cutlery is stored in earthenware jars, fruit and vegetables are displayed in blue and white bowls on the island and silver and glass cloches are in constant use to cover food which has been prepared. Mixing old and new, marble and wood – the kitchen is just such joy to work in.
 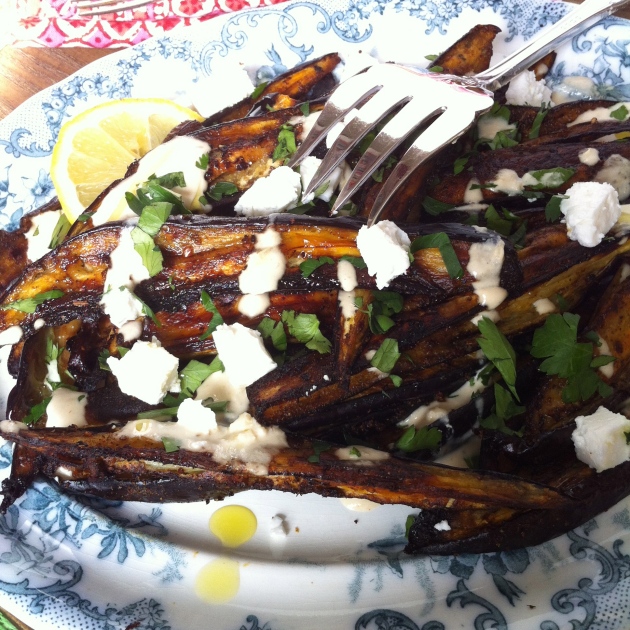 The evening before the wedding, they had planned to host a “casual” braai (barbecue). We had all had all been to a cocktail party the night before, at the grooms’ (also stunning) house and some of us were feeling a little fragile! Nonetheless, that morning, Justin went off shopping, coming back with bags full of fresh produce, tender beef and cases of bubbles. Jake was arriving that afternoon, flying out straight after finishing his last mock exam and had to be collected. On the way to the airport we discussed the menu and what had to be done. Traffic was horrendous which meant we were running a little late and Justin had some work to do when we got back, so I assumed the role of sous chef and set about chopping ingredients for a salad and marinating the beef for the barbecue.


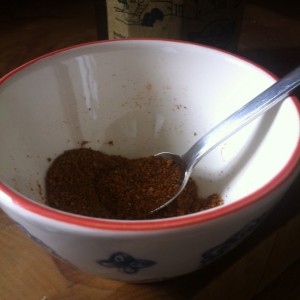


 I couldn’t wait to re-create this when I got back.
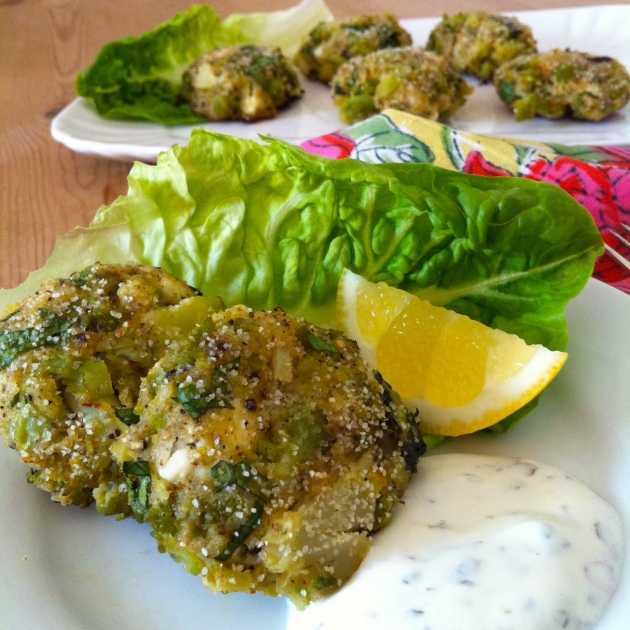
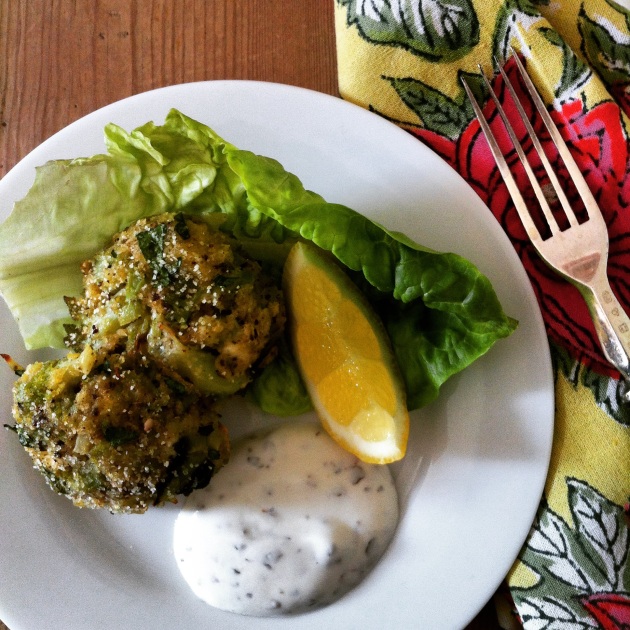
  I use the chermoula as a dry rub, coating the aubergine wedges after tossing them in olive oil. The wedges are roasted, turning them over halfway through the cooking time and roasting until the edges are crispy and the thicker bits are soft and squidgy. It’s that wonderful combination of flavours and textures; soft and crispy with a nutty, smokey, tart and salty flavour with the freshness of the chopped parsley and coriander leaves. Delicious with barbecues, as a side to roast lamb or chicken or as part of a mezze.


 Hello from gorgeous Cape Town! I’m here for a wedding but wanted to share these fabulous crackers with you.
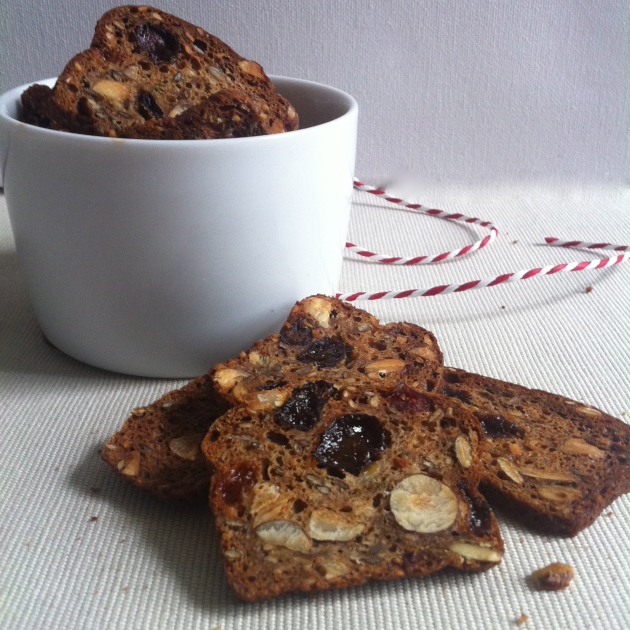 Whenever I dry any sourdough starter, I always test some before sending it out or storing it. This recipe is just perfect for using up the test batch as it makes about a cup.
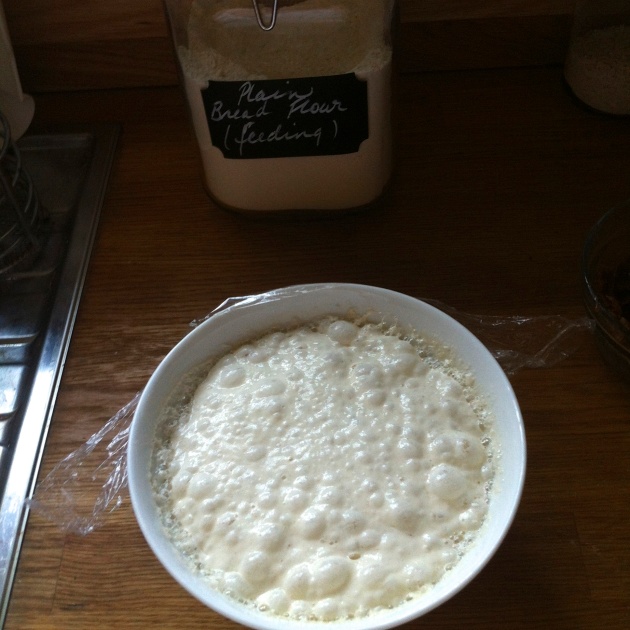


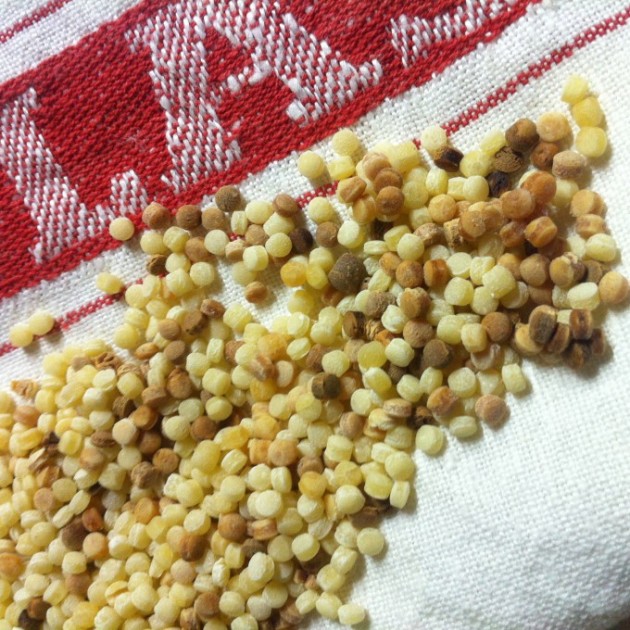
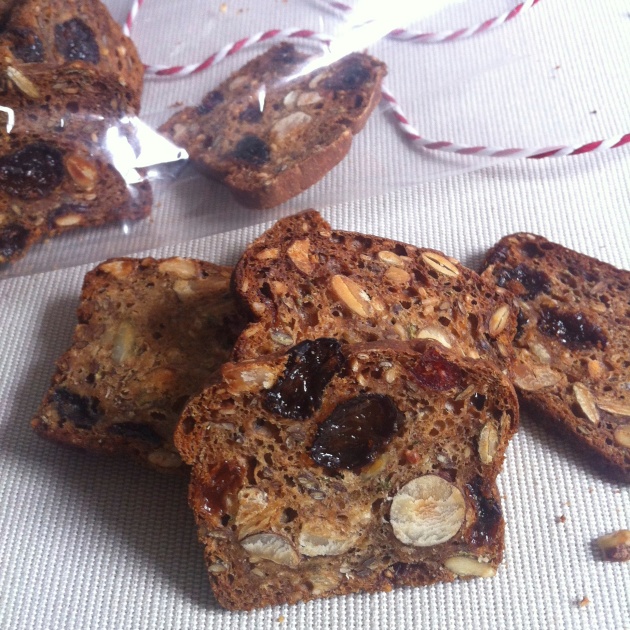
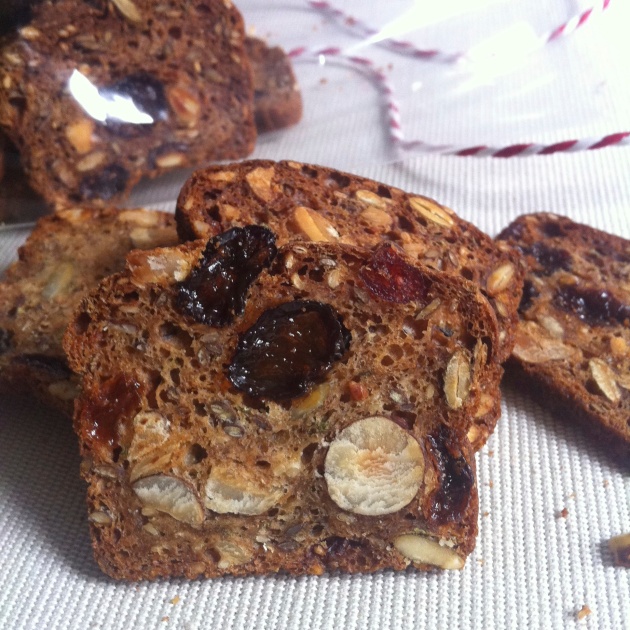 Make sure to pre soak the dried fruit before starting. I used water but next time I will soak them in strong black tea or port.
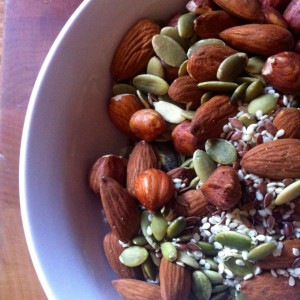


 Win a copy of FIVE by Rachel de Thample!
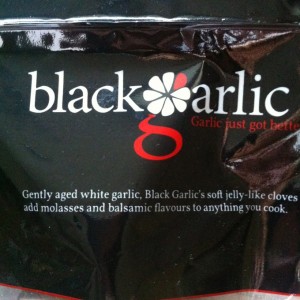
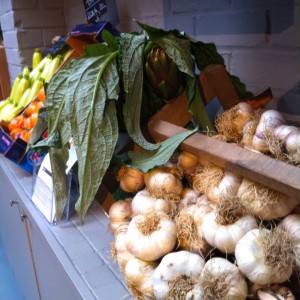
 One of the few benefits of globalisation is the exposure and the availability we now have to a huge variety of fruits and vegetables. In England, garlic, which was once regarded as foreign muck is now as ubiquitous as the humble spud.
  I can’t remember when I first saw my first


 I am sharing these with those die-hard party goers at Fiesta Friday, hosted by the talented